
Yard Machine Lawn Mower Owners Manual: A Comprehensive Guide
This comprehensive guide provides essential information for Yard Machine lawn mower owners‚ covering operation‚ maintenance‚ and troubleshooting for optimal performance and longevity.
Yard Machine lawn mowers are designed for homeowners seeking reliable and affordable lawn care solutions. This manual serves as a vital resource‚ ensuring safe and efficient operation of your equipment. Understanding your mower’s capabilities and limitations is crucial for achieving professional-quality results.
Whether you’re tackling a small residential lawn or a more expansive property‚ Yard Machine offers a range of models to suit your needs. This guide details everything from initial assembly and pre-operation checks to routine maintenance and troubleshooting common issues. Proper care extends the life of your mower and maintains peak performance.
Always prioritize safety by adhering to the precautions outlined within this manual. Familiarize yourself with all controls and features before each use.
Understanding Your Lawn Mower Model
Identifying your specific Yard Machine lawn mower model is the first step towards effective maintenance and repair. Locate the model and serial number plate‚ typically found on the mower deck or engine housing. This information is crucial when ordering replacement parts or contacting customer support.
Different models feature varying specifications‚ including engine size‚ cutting width‚ and drive systems. Refer to the model-specific information within this manual to understand the unique characteristics of your mower. Knowing these details ensures you utilize the correct procedures for operation and upkeep.
Understanding the components and their functions will enhance your overall mowing experience and prolong the life of your machine.
Safety Precautions & Warnings
Prioritize safety when operating your Yard Machine lawn mower. Always read and understand all safety precautions before use. Keep children and pets away from the mowing area during operation. Never operate the mower with missing or damaged safety devices‚ such as the discharge guard.
Wear appropriate safety gear‚ including eye protection and sturdy footwear. Avoid loose clothing that could become entangled in moving parts. Before each use‚ inspect the mowing area for obstacles.
Never put hands or feet near a rotating blade. Disconnect the spark plug wire before performing any maintenance or repairs. Be aware of potential hazards and exercise caution at all times.
Component Identification
Familiarize yourself with your Yard Machine lawn mower’s key components. The engine powers the blade‚ while the deck houses and directs airflow. The blade itself performs the cutting action. Locate the discharge chute‚ responsible for expelling cut grass.
Identify the control handle‚ used for steering and engaging safety features. Understand the function of the height adjustment lever‚ controlling the cutting height. The fuel tank stores gasoline‚ and the oil dipstick allows for oil level checks.
Recognize the spark plug‚ essential for ignition‚ and the air filter‚ protecting the engine. Knowing these components aids in maintenance and troubleshooting.
Engine Components
The engine is the heart of your Yard Machine lawn mower. Key components include the cylinder‚ where combustion occurs‚ and the piston‚ driven by expanding gases. The carburetor mixes air and fuel for optimal combustion. Locate the spark plug‚ initiating the combustion process with a high-voltage spark.
Understand the air filter’s role in preventing debris from entering the engine. The muffler reduces engine noise. The governor regulates engine speed‚ and the recoil starter initiates engine operation. Regularly inspect these components for wear and tear to ensure reliable performance.

Deck & Blade Assembly
The deck houses the blade and directs airflow for efficient cutting. Inspect the mower deck for damage‚ ensuring it’s free from cracks or bends. The blade itself is crucial; a dull or damaged blade results in an uneven cut. Regularly check the blade adapter and blade bolt for tightness.
Understand the discharge chute’s function in expelling cut grass. The side discharge deflector directs clippings safely. Ensure the anti-scalp wheels are properly adjusted to prevent damage to the lawn. Proper assembly and maintenance of these components are vital for safe and effective mowing.
Assembly Instructions
Carefully unpack all components and verify against the parts list included in your manual. Attach the handle to the mower deck‚ securing it with the provided bolts and washers – ensure a firm connection. Install the discharge chute‚ confirming it’s properly aligned and locked into place for safe operation.
Next‚ mount the wheels‚ tightening the axle nuts securely. Double-check all fasteners for tightness after initial assembly. Read the manual thoroughly before proceeding. Improper assembly can lead to unsafe operation and potential damage. Always prioritize safety during this process‚ and consider wearing gloves.
Pre-Operation Checklist
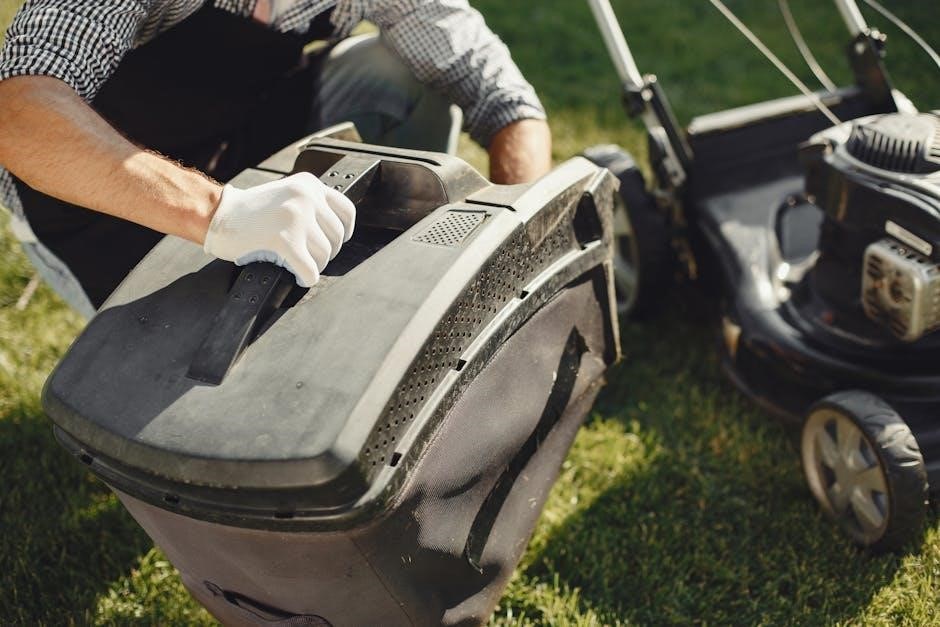
Before each use‚ inspect the mower deck for any debris or obstructions. Verify all nuts and bolts are tightened securely to prevent vibrations and potential part failure during operation. Check the grass catcher‚ ensuring it’s properly attached and in good condition.
Crucially‚ examine the blade for damage or dullness – a sharp blade ensures a clean cut and efficient mowing. Confirm safety shields and guards are in place and functioning correctly. Always prioritize a thorough pre-operation check for safe and effective lawn care. Refer to your owner’s manual for specific details.
Fueling Instructions
Always fuel the lawn mower outdoors‚ in a well-ventilated area‚ and away from any open flames or sources of ignition. Ensure the engine is cool before refueling to prevent fuel ignition. Use the recommended fuel type – typically unleaded gasoline with a minimum octane rating of 87 – as specified in your owner’s manual.
Carefully remove the fuel cap and use a funnel to avoid spills. Do not overfill the fuel tank‚ leaving some space for expansion. Wipe up any spilled fuel immediately. Securely replace the fuel cap before starting the engine. Improper fueling can lead to engine damage or fire hazards.
Oil Level Check
Regularly checking the oil level is crucial for engine longevity. Park the lawn mower on a level surface before checking. Remove the oil dipstick‚ wipe it clean with a lint-free cloth‚ and reinsert it fully. Remove the dipstick again and observe the oil level.
The oil level should be between the “Add” and “Full” marks on the dipstick. If the level is low‚ add the recommended oil type (refer to your manual) slowly‚ checking frequently to avoid overfilling. Overfilling can be as damaging as underfilling. Replace the dipstick securely after checking and adding oil.
Starting & Stopping the Engine
Before starting‚ ensure the blade is disengaged and the parking brake is set. Prime the engine by pressing the primer bulb several times (typically 3-5 times)‚ but avoid over-priming. Move the throttle to the “Choke” position if the engine is cold. Grasp the starter handle firmly and pull the cord with a smooth‚ controlled motion.
To stop the engine‚ release the throttle and allow the engine to idle briefly before disengaging the blade. Some models have a key ignition; simply turn the key to the “Off” position. Never force the engine to stop by disconnecting wires or fuel lines.
Operating Instructions
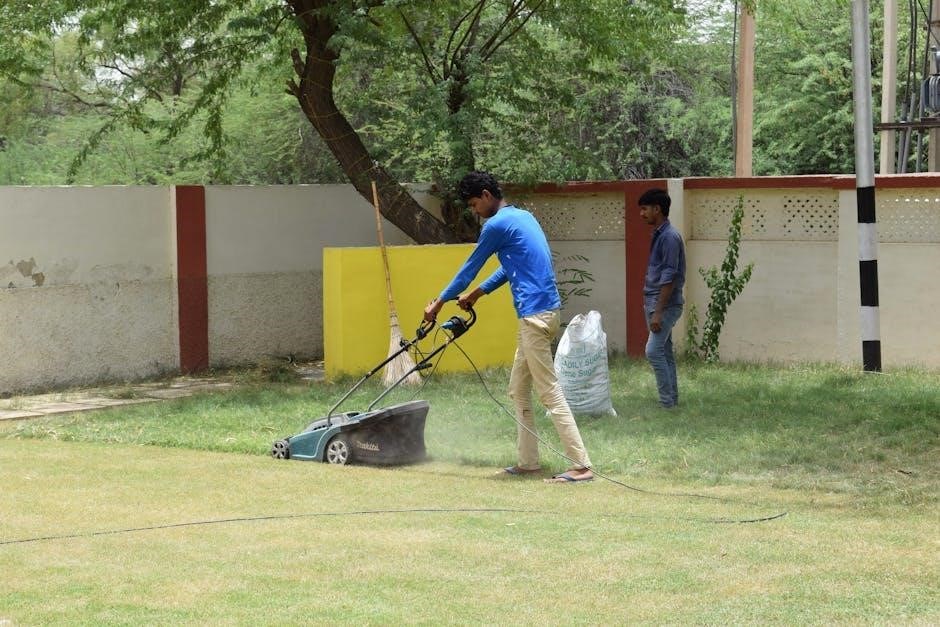
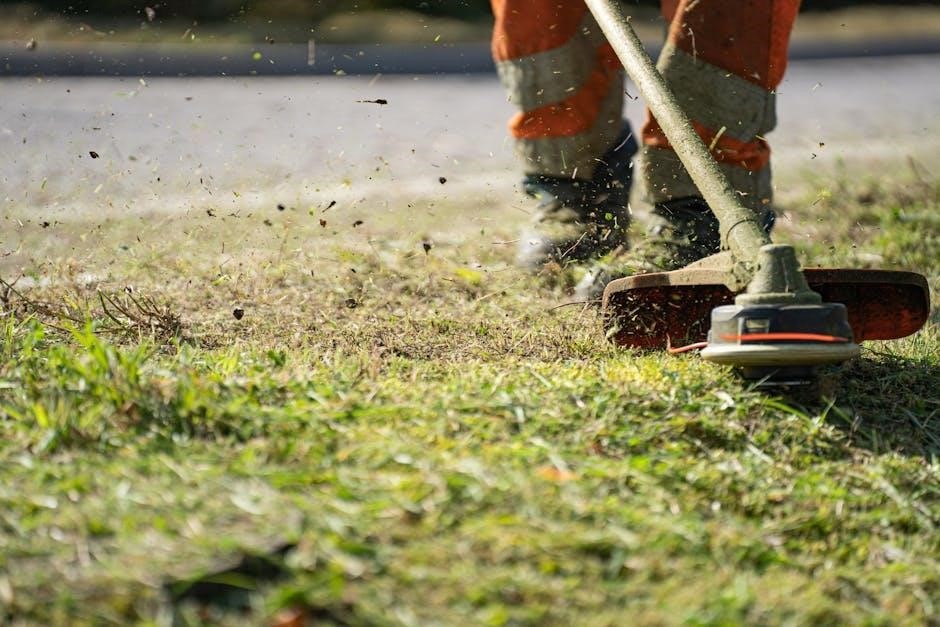
Always inspect the mowing area for stones‚ toys‚ or other objects that could become projectiles. Begin mowing in a straight line‚ overlapping each pass slightly to avoid scalping. Maintain a consistent walking speed for an even cut. Avoid sharp turns‚ which can damage the lawn and strain the mower.
When encountering thick grass‚ reduce your walking speed to allow the blade to effectively cut. Disengage the blade when crossing gravel driveways or sidewalks. Never operate the mower in wet conditions‚ as this can create a safety hazard and damage the machine.
Adjusting Cutting Height
Locate the cutting height adjustment levers‚ typically found on each wheel. These levers control the distance between the deck and the ground‚ determining the grass length. Most Yard Machine mowers offer multiple height settings‚ allowing you to customize the cut. Ensure all four wheels are set to the same height for a level cut.
To raise the cutting height‚ move the levers forward; to lower it‚ move them backward. Always stop the engine and disconnect the spark plug before adjusting the height. Start with a higher setting and gradually lower it until you achieve the desired grass length. Avoid cutting more than one-third of the grass blade length at a time.
Mowing Techniques
Overlap each mowing pass by a few inches to prevent scalping and ensure a consistent cut. Maintain a steady walking pace; moving too quickly can result in an uneven cut. When mowing thick grass‚ reduce your walking speed and raise the cutting height. Avoid mowing wet grass‚ as it can clog the deck and create an uneven finish.

For a professional look‚ mow in a different direction each time. This promotes healthy grass growth and prevents the grass from leaning in one direction. Around obstacles‚ slow down and carefully maneuver the mower. Always discharge clippings away from walkways‚ driveways‚ and flowerbeds.
Maintenance Schedule
Regular maintenance is crucial for extending the life of your Yard Machine lawn mower. After each use‚ clean the underside of the deck to prevent corrosion. Every 25 hours of operation‚ check and clean or replace the air filter. Inspect the blade for damage and sharpen or replace as needed.
Every 50 hours‚ change the engine oil. Annually‚ inspect all bolts and fasteners for tightness. Check the spark plug and replace it if necessary. Lubricate moving parts to ensure smooth operation. Following this schedule will help maintain peak performance and prevent costly repairs.
Blade Sharpening & Replacement
A sharp blade ensures a clean cut and healthy lawn. Regularly inspect the blade for dullness‚ nicks‚ or damage. To sharpen‚ remove the blade and use a file or grinding wheel‚ maintaining the original angle. Ensure balance after sharpening to prevent vibration.
If the blade is severely damaged or bent‚ replace it immediately. Always disconnect the spark plug wire before working on the blade. Use the correct replacement blade specified for your model. Tighten the blade bolt to the manufacturer’s recommended torque specification. Proper blade maintenance is vital for safety and cutting performance.

Air Filter Cleaning/Replacement
A clean air filter is crucial for engine performance and longevity. Regularly check the air filter for dirt and debris. For paper filters‚ gently tap to remove loose particles or use low-pressure compressed air‚ blowing from the inside out. Foam filters can be washed with soap and water‚ then oiled lightly before reinstalling.
Replace the air filter when it becomes excessively dirty or damaged. A clogged filter restricts airflow‚ causing reduced power and increased fuel consumption. Consult your owner’s manual for the correct filter type and replacement intervals. Proper air filtration protects the engine from harmful contaminants.
Troubleshooting Common Issues
Encountering problems with your Yard Machine mower is common. If the engine won’t start‚ check the fuel level‚ spark plug‚ and air filter. Ensure the safety bail is engaged and the blade is free. For an uneven cut‚ sharpen or replace the blade‚ and verify proper tire inflation. Uneven terrain can also contribute to this issue.
Consult the owner’s manual for detailed troubleshooting steps. Always disconnect the spark plug wire before performing any maintenance. If problems persist‚ contact Yard Machine support or a qualified technician. Ignoring issues can lead to further damage and costly repairs.
Engine Won’t Start
If your Yard Machine engine fails to start‚ begin with the basics. Check the fuel tank – ensure it’s adequately filled with fresh gasoline. Inspect the spark plug; a fouled or damaged plug won’t ignite the fuel. Clean or replace as needed. Verify the air filter isn’t clogged‚ restricting airflow. Confirm the safety bail is fully engaged‚ activating the engine’s starting circuit.
Also‚ examine the blade to ensure it isn’t obstructed. If still unsuccessful‚ check the fuel line for blockages. Consult your owner’s manual for specific troubleshooting diagrams and procedures. Remember to disconnect the spark plug before any inspection.
Uneven Cut
An uneven cut with your Yard Machine mower often indicates blade issues. First‚ inspect the blade for dullness‚ damage (nicks‚ bends)‚ or improper installation. Sharpen or replace a dull blade immediately. Ensure the blade is securely fastened according to the owner’s manual specifications. Check the deck for obstructions or buildup of grass clippings‚ which can affect airflow.
Also‚ verify the tire pressure is even on all wheels; uneven pressure causes an inconsistent cutting height. Adjust the cutting height to a suitable level for your lawn conditions. Maintain a consistent mowing speed to avoid scalping.
Storage & Winterization
Proper storage is crucial for maintaining your Yard Machine lawn mower’s longevity. Before long-term storage‚ drain the fuel tank completely to prevent fuel degradation and carburetor issues. Run the engine until it stalls to empty the carburetor. Change the oil‚ ensuring fresh oil protects internal components during storage. Clean the mower deck thoroughly‚ removing grass and debris to prevent corrosion.
Disconnect the spark plug wire for safety. Store the mower in a dry‚ sheltered location‚ covered to protect it from dust and the elements. Consider a fuel stabilizer if complete fuel drainage isn’t possible.
Finding Replacement Parts
Locating replacement parts for your Yard Machine lawn mower is essential for maintaining its functionality. Online retailers specializing in lawn mower parts offer a vast selection‚ often searchable by model number. Local hardware stores and lawn equipment dealers frequently stock common replacement parts like blades‚ filters‚ and spark plugs.
Always have your mower’s model number readily available when ordering parts to ensure compatibility. Refer to the parts diagram in your owner’s manual for accurate identification. Genuine Yard Machine parts are recommended for optimal performance and durability‚ though aftermarket options are available. Compare prices and shipping costs before making a purchase.
Warranty Information
Yard Machine lawn mowers are typically covered by a manufacturer’s warranty‚ protecting against defects in materials and workmanship. Warranty duration varies depending on the specific model and purchase date; carefully review your purchase documentation. The warranty generally covers parts and labor for a specified period.
To make a warranty claim‚ retain your proof of purchase and contact Yard Machine customer support or an authorized service dealer. The warranty may not cover items damaged through misuse‚ improper maintenance‚ or normal wear and tear. Registering your product online can streamline the warranty process. Keep your owner’s manual for complete warranty details.
Contacting Yard Machine Support
For assistance with your Yard Machine lawn mower‚ several support options are available. Visit the official Yard Machine website to access frequently asked questions‚ troubleshooting guides‚ and downloadable manuals. A dedicated customer support phone line provides direct assistance from trained representatives; check the website for the current number.
Online chat support may also be offered for quick issue resolution. Authorized service dealers provide local repair and maintenance services. When contacting support‚ have your model number and purchase date readily available. Detailed product information ensures efficient assistance. Explore online forums for community-based solutions and shared experiences.