
Canon AE-1 Program: A Comprehensive Manual Overview (02/06/2026)

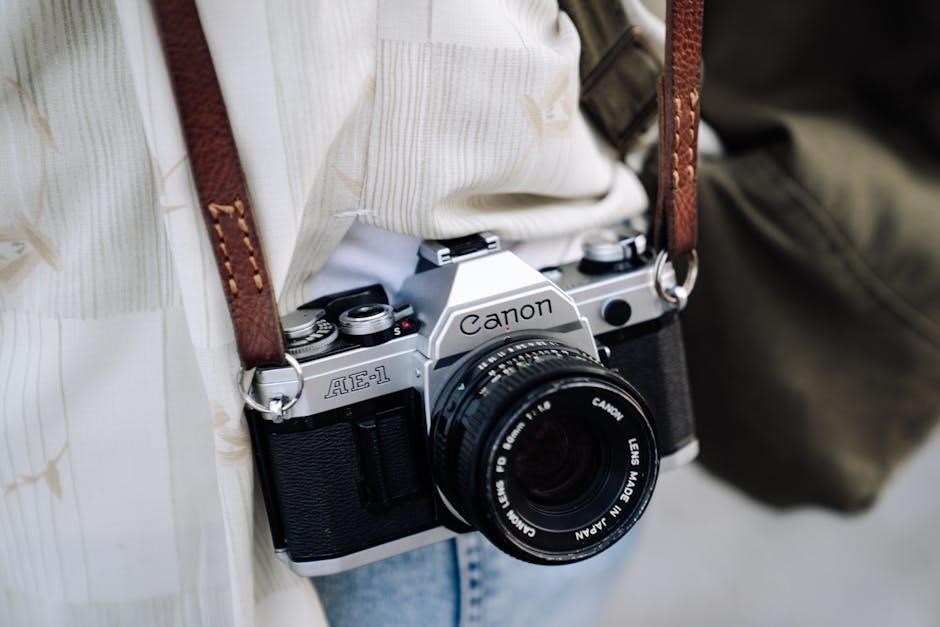
Today, February 6th, 2026, the Canon AE-1 Program stands as a user-friendly, electronic SLR, famed for its accessible Program mode and intuitive viewfinder feedback.
The Canon AE-1 Program, released in 1981, quickly became a cornerstone for aspiring photographers and enthusiasts alike. It bridged the gap between fully manual cameras and the emerging world of automated photography, offering a blend of control and convenience that resonated with a broad audience. This camera isn’t just a piece of vintage technology; it’s a gateway to understanding photographic principles.
Its defining feature is, of course, the Program mode, where the camera intelligently selects both the shutter speed and aperture, simplifying the shooting process. However, the AE-1 Program isn’t limited to automation. It also provides shutter priority and aperture priority modes, alongside full manual control, allowing users to progressively learn and master photographic techniques.
Many users initially embraced the ease of the Program mode, while simultaneously appreciating the camera’s potential for more advanced exploration. The clear feedback provided through the viewfinder, coupled with its robust build quality, cemented its place as an ideal learning tool and a reliable companion for capturing life’s moments.
Historical Context and Significance
The Canon AE-1 Program arrived during a pivotal shift in camera technology, the early 1980s, when manufacturers were actively integrating microelectronics into their designs. It followed the original AE-1, building upon its success with enhanced automation and a more user-friendly experience. This camera represented Canon’s commitment to making sophisticated photography accessible to a wider audience.
Prior to the AE-1 Program, many SLRs required significant knowledge of exposure settings. The introduction of a reliable Program mode democratized photography, allowing individuals with limited technical expertise to achieve well-exposed images. While some purists favored fully manual control, the AE-1 Program’s versatility appealed to a broader spectrum of photographers.
Its popularity helped establish Canon as a leading camera manufacturer, and it influenced subsequent camera designs. The AE-1 Program wasn’t merely a product of its time; it actively shaped the evolution of 35mm SLR photography, paving the way for more advanced automated features in future models.
Key Features and Specifications
The Canon AE-1 Program boasts a horizontally-traveling focal-plane shutter, offering speeds from 2 seconds to 1/1000th of a second, plus Bulb mode for long exposures. It utilizes a Canon FD mount, compatible with a vast array of Canon lenses. The camera features both shutter-priority and aperture-priority autoexposure modes, alongside a fully automatic Program mode where the camera selects both settings.
Its electronic self-timer provides a 10-second delay. The viewfinder offers approximately 93.8% coverage, with a built-in microprism collar for easier focusing. The AE-1 Program operates on a 4LR44/PX28 battery, powering its electronic circuitry and light metering system.
The camera’s exposure compensation dial allows for adjustments to the automatically determined exposure, crucial for challenging lighting situations. Its robust build quality and reliable performance contributed to its enduring appeal, making it a favorite among both amateur and professional photographers.
Understanding Shooting Modes
The Canon AE-1 Program offers versatile shooting options: Program mode for full automation, shutter priority for time control, aperture priority for depth, and manual for complete command.
Program Mode: The Camera’s Automatic Setting
The Program mode on the Canon AE-1 Program represents the camera’s fully automatic operational state, designed for simplicity and ease of use. In this mode, the camera intelligently selects both the optimal shutter speed and aperture, relieving the photographer from these crucial settings. This makes it an ideal choice for beginners or situations demanding quick, effortless shooting.
Many users historically favored Program mode, trusting the camera’s internal metering system to deliver well-exposed images across diverse lighting conditions. The AE-1 Program’s Program mode provides clear feedback within the viewfinder, assisting photographers in understanding the camera’s chosen settings. While offering convenience, it’s important to remember that the camera’s ‘intelligence’ is based on its interpretation of the scene, and may not always align with the photographer’s artistic intent.
Essentially, Program mode allows photographers to concentrate on composition and capturing the moment, leaving the technical aspects to the camera’s automated systems. It’s a fantastic starting point for learning photography with the AE-1 Program.
Shutter Priority Mode: Controlling Time
Shutter Priority mode on the Canon AE-1 Program empowers photographers to directly control the shutter speed, influencing motion blur and freezing action. By selecting a specific shutter speed, the camera automatically adjusts the aperture to achieve proper exposure. This mode is particularly useful for capturing fast-moving subjects, like sports or wildlife, where a quick shutter speed is essential to prevent blurring. Conversely, slower shutter speeds can creatively depict motion, creating a sense of movement or ethereal effects.
While the AE-1 Program is celebrated for its Program mode, the availability of Shutter Priority expands creative possibilities. Photographers can deliberately choose to either freeze action or intentionally blur movement, adding artistic flair to their images. The camera’s metering system ensures correct exposure, even with user-defined shutter speeds.
Understanding the interplay between shutter speed and aperture is key to mastering Shutter Priority mode and achieving desired photographic results with the Canon AE-1 Program.

Aperture Priority Mode: Controlling Depth of Field
Aperture Priority mode on the Canon AE-1 Program grants photographers control over the lens aperture, directly impacting the depth of field – the area of acceptable sharpness in an image. Selecting a wider aperture (smaller f-number) creates a shallow depth of field, isolating the subject against a blurred background, ideal for portraits. Conversely, a narrower aperture (larger f-number) yields a greater depth of field, keeping both foreground and background sharp, suitable for landscapes.
The AE-1 Program’s metering system automatically adjusts the shutter speed to maintain proper exposure while the photographer dictates the aperture. This allows for creative control over the visual appearance of the photograph, emphasizing specific elements or creating a sense of spaciousness.
Mastering Aperture Priority mode unlocks artistic potential, enabling photographers to manipulate focus and draw the viewer’s eye to the intended subject within the frame using the Canon AE-1 Program.
Manual Mode: Full User Control
Manual mode on the Canon AE-1 Program relinquishes all automatic functions, placing complete creative authority in the hands of the photographer. This mode demands a thorough understanding of the exposure triangle – aperture, shutter speed, and ISO – as you independently set each parameter to achieve the desired result. The camera’s metering system still provides guidance, displaying a needle indicating over or underexposure, but the final decisions rest with you.
While potentially challenging for beginners, Manual mode offers unparalleled control, particularly in complex lighting situations where automatic modes may falter. It’s essential for consistent results and achieving a specific aesthetic vision.
Experienced photographers often prefer Manual mode for its precision and the ability to override the camera’s interpretations, fully harnessing the Canon AE-1 Program’s capabilities.
Operating the Canon AE-1 Program
Successfully utilizing the Canon AE-1 Program involves correctly loading film, setting the appropriate ISO, and mastering the viewfinder’s metering system for optimal results.
Loading Film Correctly
Beginning with film loading on the Canon AE-1 Program, locate the film chamber release on the camera’s left side. Press this release and open the back cover. Insert a 35mm film canister into the film chamber, ensuring it seats correctly. Pull the film leader across the camera body and attach it to the take-up spool.
Advance the film using the film advance lever, watching to ensure the film is properly catching on the spool. Continue advancing the lever several times until the film counter reaches ‘1’. Close the camera back securely. The AE-1 Program is now ready for shooting.
Proper loading is crucial; incorrectly loaded film can result in blank or improperly exposed images. Always double-check that the film leader is securely attached to the take-up spool before closing the camera back. Remember to rewind the film fully before opening the camera again to prevent light leaks and damage.
Setting the ISO
Adjusting the ISO on the Canon AE-1 Program is vital for accurate exposure. The ISO setting informs the camera’s metering system about the film’s sensitivity to light. Locate the ISO dial, typically situated around the film rewind knob. This dial features a range of common ISO values, such as 25, 50, 100, 200, 400, and 800.
Match the dial setting to the ISO speed of the film loaded in the camera. For example, if you’re using ISO 400 film, set the dial to 400. Incorrect ISO settings will lead to over or underexposed photographs.
Remember that higher ISO values are suitable for low-light conditions, but may introduce more grain into your images. Lower ISO values are best for bright conditions, delivering finer grain and sharper results. Always double-check the ISO setting before beginning a shooting session.

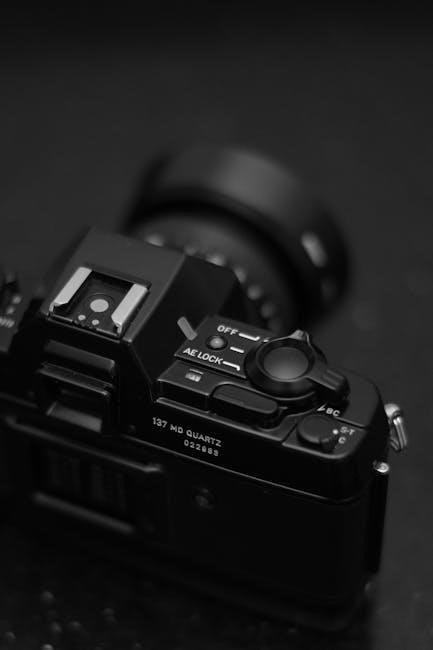
Using the Viewfinder and Metering System
The Canon AE-1 Program’s viewfinder provides crucial information for achieving proper exposure. Within the viewfinder, you’ll find a needle indicator and a series of LED lights. These elements work in conjunction with the camera’s metering system to assess the scene’s brightness.
In Program mode, the camera automatically selects both the shutter speed and aperture. The viewfinder’s LEDs illuminate to confirm correct exposure. A central LED indicates accurate metering. LEDs to the left suggest underexposure, while those to the right indicate overexposure.
When using Shutter Priority or Aperture Priority modes, the viewfinder displays the selected setting, and the needle indicates whether the chosen setting results in correct exposure. Understanding this system is key to mastering the AE-1 Program’s capabilities and capturing well-exposed images.

Advanced Techniques and Considerations

Mastering the Canon AE-1 Program involves understanding exposure compensation for backlit scenes, lens compatibility, and proactively troubleshooting common operational issues for optimal results.
Backlit Subjects and Exposure Compensation
When photographing backlit subjects with the Canon AE-1 Program, the camera’s metering system can be easily fooled, often resulting in underexposed images. This occurs because the bright light source influences the meter to prioritize that brightness, diminishing the exposure needed for the subject itself.
To counteract this, utilize the exposure compensation feature. The AE-1 Program allows you to override the camera’s automatic exposure settings, adding more light to the scene. Typically, a +1 or +2 stop compensation is a good starting point when dealing with strong backlighting.
Experimentation is key; take a test shot, review the results on the viewfinder, and adjust the compensation accordingly. Remember to consider the overall scene and the desired effect. For silhouettes, minimal or no compensation might be preferred, while for detailed subjects, a higher positive compensation will be necessary. Understanding this interplay ensures properly exposed and visually appealing photographs, even in challenging lighting conditions.
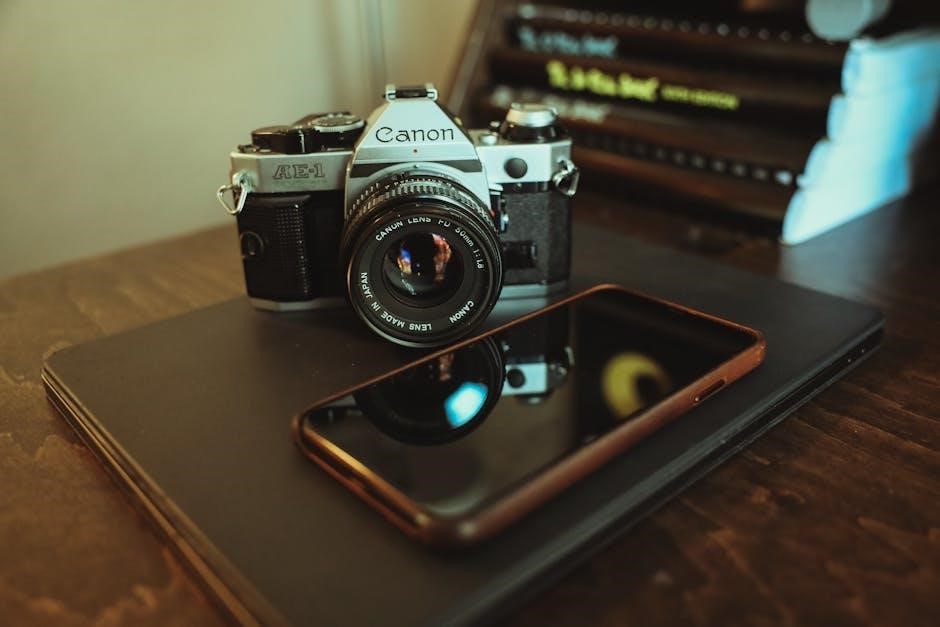
Understanding the Lens Compatibility
The Canon AE-1 Program boasts impressive lens compatibility thanks to the Canon FD mount. This system allows for use with a vast array of Canon FD and FD New lenses produced during its era. However, understanding the nuances of FD lenses is crucial for optimal performance. “FD” lenses are breech-lock, requiring a twisting motion to mount and dismount.
Notably, some FD lenses feature electronic contacts enabling semi-automatic diaphragm control in Aperture Priority mode. These “New FD” lenses offer a smoother shooting experience. Older “FD” lenses require manual aperture control even in Aperture Priority. Full manual control is always available with any FD lens.
Adapters exist to use lenses from other mounts, but functionality may be limited. Prioritize genuine Canon FD lenses for full compatibility and reliable operation with your AE-1 Program. Research specific lens features to maximize your photographic potential.
Troubleshooting Common Issues

Common issues with the Canon AE-1 Program often relate to its electronic components. A frequent problem is the shutter not firing, potentially due to a weak or failing battery – always start with a fresh replacement. Erratic metering can stem from dirty contacts within the battery compartment or viewfinder. Gentle cleaning with a cotton swab and isopropyl alcohol can resolve this.
If the camera consistently over or underexposes, suspect a calibration issue or a problem with the light seals, leading to light leaks. Sticky shutter curtains can also cause exposure inaccuracies. For more complex issues, like a malfunctioning program mode, professional servicing is recommended.
Remember, the AE-1 Program is an older camera; patience and careful diagnosis are key to resolving problems and keeping it operational. Online forums and repair guides offer valuable assistance.
Maintenance and Care
Regular upkeep ensures longevity; replace the battery as needed and store the Canon AE-1 Program in a dry place, protecting it from dust and extreme temperatures.
Battery Replacement and Type
The Canon AE-1 Program relies on a specific battery type to power its electronic functions, primarily the light meter and electronic shutter. It utilizes a 4LR44 or PX28 battery – these are equivalent and commonly available. Understanding battery replacement is crucial for continued operation. To access the battery compartment, locate the battery cover on the camera’s bottom.
Typically, a small coin or edge is needed to gently lift and open this cover. Remove the old battery, observing the correct polarity (+ and -) indicated inside the compartment. Insert the new battery, ensuring proper alignment. Close the battery cover securely. A weak or depleted battery will manifest as inaccurate metering or the inability to activate the camera’s electronic features. Always use a fresh battery for reliable performance, especially when relying on Program mode or other automatic functions. Regularly check the battery condition to avoid unexpected interruptions during shooting.
Cleaning and Storage
Proper cleaning and storage are vital for preserving the Canon AE-1 Program’s functionality and aesthetic condition. Regularly dust the camera body with a soft, dry cloth to remove loose particles. Avoid using abrasive cleaners or solvents, as these can damage the finish. The lens should be cleaned with a lens cloth and appropriate lens cleaning solution, applying gentle circular motions.
When storing the camera, choose a cool, dry location away from direct sunlight and extreme temperatures. Ideally, store it in a camera bag or case to protect it from dust, moisture, and accidental impacts. If storing for an extended period, remove the battery to prevent potential corrosion. Periodically check the camera for signs of mold or mildew, especially if stored in a humid environment. Proper care ensures your Canon AE-1 Program remains a reliable and enjoyable photographic tool for years to come.