Jumpers Knee Exercises PDF: A Comprehensive Plan
This detailed PDF guide offers a structured exercise program for patellar tendonitis recovery, focusing on progressive strengthening and flexibility to minimize pain and prevent re-injury.
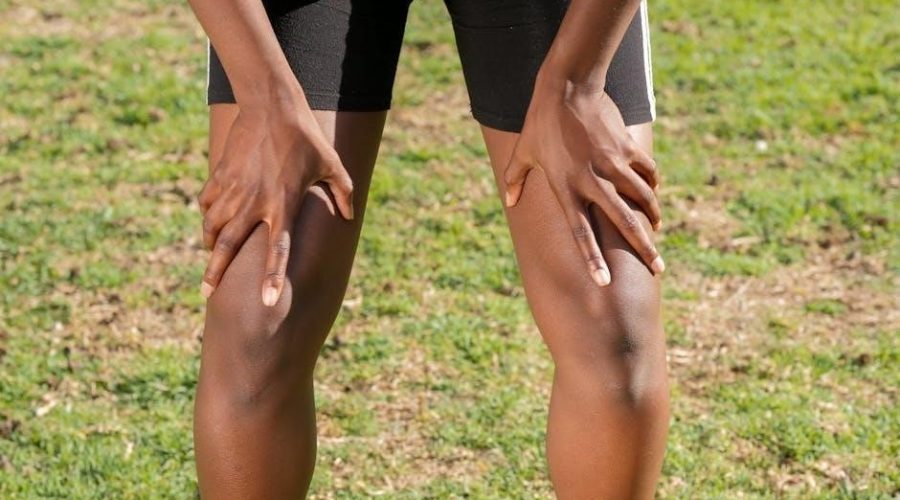
Understanding Jumper’s Knee (Patellar Tendonitis)
Jumper’s Knee, clinically known as patellar tendonitis, is an inflammation of the patellar tendon, which connects your kneecap (patella) to your shinbone. This common overuse injury frequently affects athletes participating in jumping sports, causing pain just below the kneecap.
The condition arises from repetitive strain, leading to microscopic tears in the tendon. Understanding the mechanics of this injury is crucial for effective rehabilitation. A comprehensive recovery plan, often detailed in downloadable PDF guides, addresses pain management, strengthening, and flexibility to restore optimal knee function and prevent recurrence.

Causes and Symptoms of Patellar Tendonitis
Patellar tendonitis typically develops from repetitive stress on the patellar tendon, common in sports involving frequent jumping – basketball, volleyball, and running. Factors like tight leg muscles, improper technique, and insufficient warm-up contribute to its onset.
Symptoms begin with pain around the kneecap, worsening with activity. Initially, pain appears after exercise, progressing to discomfort during activity and even at rest. PDF exercise guides often emphasize identifying these symptoms early for prompt intervention and a tailored rehabilitation program.
Phase 1: Initial Pain Management & Reducing Inflammation
The first phase prioritizes reducing pain and swelling. PDF resources recommend immediate rest from aggravating activities and consistent ice application (15-20 minutes, several times daily). Focus shifts to gentle exercises that don’t exacerbate pain.
This stage avoids strenuous activity, preparing the knee for later strengthening. A downloadable PDF will detail proper icing techniques and emphasize the importance of adhering to a pain-free range of motion. Early management is crucial for a successful recovery trajectory.
Rest and Ice Application
Initial recovery hinges on adequate rest, avoiding activities that intensify knee discomfort. A comprehensive PDF guide details modifying training or daily routines to minimize stress on the patellar tendon. Ice packs should be applied for 15-20 minutes, several times daily, especially after any activity.
Proper ice application—using a towel to protect skin—reduces inflammation and pain. The downloadable PDF emphasizes consistent rest and icing as foundational steps for healing, setting the stage for subsequent rehabilitation phases.
Quadriceps Setting Exercises
Quadriceps setting is a crucial early exercise, detailed in the PDF, to activate and strengthen the thigh muscles without stressing the patellar tendon. Lie flat with your leg extended, and consciously tighten your quadriceps, pressing the back of your knee into the floor.
Hold this contraction for 5-10 seconds, then relax. Repeat 10-15 times, several times a day. This simple exercise improves muscle control and prepares the knee for more advanced strengthening, as outlined in the PDF guide.
Phase 2: Early Strengthening (Weeks 1-3)
This phase, detailed in the PDF, focuses on rebuilding strength with low-impact exercises. Begin with isometric quadriceps contractions, holding the muscle engagement without joint movement. Progress to straight leg raises, maintaining proper form to avoid strain.
The PDF emphasizes controlled movements and pain monitoring. Perform 3 sets of 10-15 repetitions for each exercise, gradually increasing as tolerated. Consistency is key during these initial weeks to establish a foundation for further rehabilitation.
Isometric Quadriceps Contractions
The PDF outlines isometric quadriceps contractions as a foundational exercise. Sit with your leg extended, and consciously tighten your thigh muscles, pressing the back of your knee towards the floor. Hold this contraction for 5-10 seconds, maintaining a firm muscle engagement without any visible leg movement.

Repeat 10-15 times, 3 sets, focusing on quality over quantity. This exercise rebuilds strength without stressing the patellar tendon, crucial in early recovery. Monitor for pain; discontinue if experienced.
Straight Leg Raises
The PDF details straight leg raises as a key strengthening exercise. Lie flat on your back with one leg bent and the other extended. Slowly lift the extended leg approximately 6-12 inches off the ground, keeping the knee straight and core engaged.
Hold for a few seconds, then slowly lower. Perform 3 sets of 10-15 repetitions. This exercise targets the quadriceps and hip flexors, improving leg control and strength. Ensure proper form to avoid strain.
Phase 3: Intermediate Strengthening (Weeks 4-6)
The PDF outlines Phase 3 as building upon earlier gains. Exercises now focus on increasing strength and endurance. Wall slides and heel slides are central, progressing range of motion and quadriceps activation. Expect 3 sets of 10-15 repetitions for each exercise.
Focus on controlled movements and maintaining proper form. Pain should be minimal; adjust intensity if needed. This phase prepares the knee for more demanding activities, bridging the gap to advanced strengthening.
Wall Slides
The PDF details wall slides as a crucial exercise for rebuilding quadriceps strength. Position your back flat against a wall, feet shoulder-width apart, and slowly slide down into a partial squat. Maintain contact with the wall throughout the movement, aiming for a 45-degree angle.
Perform 3 sets of 10-15 repetitions, focusing on controlled descent and ascent. This exercise minimizes stress on the patellar tendon while effectively strengthening the quadriceps muscles, vital for knee stability.
Heel Slides
The PDF outlines heel slides as a gentle exercise to improve knee range of motion and reduce stiffness. Lie on your back with legs extended, then slowly slide your heels towards your buttocks, bending your knees as far as comfortable without pain.
Complete 3 sets of 10-15 repetitions, maintaining a controlled movement. This exercise promotes synovial fluid circulation, easing discomfort and gradually restoring full knee flexibility, essential for recovery.

Phase 4: Advanced Strengthening (Weeks 7-12)
The PDF details Phase 4 as building towards functional movements. This stage introduces more demanding exercises like step-ups and progressive lunges, increasing load on the patellar tendon.
Perform 3 sets of 10-12 repetitions for each exercise, focusing on proper form. Step-ups enhance quadriceps and glute strength, while lunges improve stability and power. Monitor pain levels closely, adjusting intensity as needed to avoid setbacks and promote continued healing.

Step-Ups
The PDF outlines step-ups as a crucial exercise in Phase 4, targeting quadriceps and gluteal muscles for enhanced knee stability. Begin with a low step height, gradually increasing it as strength improves.
Focus on controlled movements, ensuring the knee tracks over the foot during ascent. Perform 3 sets of 10-12 repetitions per leg. Modify by adding weight (dumbbells) for increased challenge, but prioritize maintaining correct form to prevent re-injury and maximize effectiveness.
Lunges (Progressive Difficulty)
The PDF details lunges as a Phase 4 exercise, building upon step-up strength with increased functional demand. Start with static lunges, focusing on controlled descent and maintaining a 90-degree angle in both knees.
Progress to forward lunges, then walking lunges, increasing the range of motion cautiously. Add dumbbells for resistance, ensuring core engagement throughout. Perform 3 sets of 10-12 repetitions per leg, prioritizing proper form to avoid stressing the patellar tendon and promoting safe recovery.
Phase 5: Plyometric Exercises (Weeks 12+)
The PDF introduces plyometrics after 12 weeks, cautiously reintroducing jumping and impact. Begin with low-height box jumps, focusing on soft landings to minimize stress on the patellar tendon. Gradually increase box height as tolerated, maintaining proper form.
Jump rope is another option, starting with short intervals and progressively increasing duration. These exercises enhance power and prepare the knee for return to sport, but should only be attempted with pain-free function and adequate strength.
Box Jumps (Low Height)
The PDF details box jumps as a key plyometric exercise, initially using very low box heights (6-12 inches). Focus is on controlled landings, absorbing impact through the hips and knees, not the patellar tendon. Maintain a neutral spine and avoid excessive knee valgus (knees caving in).
Start with 5-10 repetitions, prioritizing quality over quantity. Progress height only when pain-free and demonstrating proper technique. This builds explosive power while minimizing stress, crucial for a safe return to activity.
Jump Rope (Gradual Increase)
The PDF recommends jump rope as a progressive plyometric, starting with short intervals (30-60 seconds) and ample rest. Focus on soft landings, bending knees upon impact to dissipate force. Avoid high jumps; maintain a low, controlled bounce.
Gradually increase duration and intensity as tolerated, monitoring for any pain flare-ups. Proper form – upright posture, elbows close to the body – is essential. This exercise enhances coordination and builds lower body endurance safely.
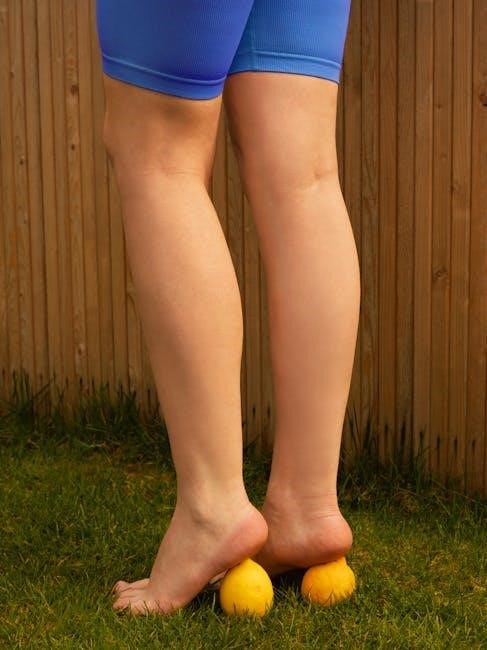
Proprioceptive Exercises for Knee Stability
The PDF emphasizes proprioception – your body’s awareness of its position in space – for knee stability. Exercises like single-leg balance challenge balance and strengthen stabilizing muscles. Begin on a firm surface, progressing to unstable surfaces like a wobble board.
Focus on maintaining proper alignment and control. These drills improve neuromuscular control, reducing the risk of re-injury by enhancing the knee’s ability to react to sudden movements and impacts.
Single Leg Balance
The PDF details single-leg balance as a foundational proprioceptive exercise. Start by simply standing on one leg for 30 seconds, focusing on maintaining a stable posture without wobbling. Progress by closing your eyes, or performing the exercise on a slightly uneven surface.
This challenges the knee’s stabilizing muscles. Incorporate gentle movements of the free leg to further enhance balance and control, building confidence and reducing injury risk.
Wobble Board Exercises
The PDF recommends wobble board exercises to significantly improve proprioception and knee stability. Begin with both feet on the board, then progress to single-leg use, maintaining balance for increasing durations – aiming for 60 seconds.
Focus on controlled movements, avoiding sudden shifts. This exercise strengthens the muscles surrounding the knee joint, enhancing its ability to react to unexpected forces and preventing future injury.
Stretching Exercises for Flexibility
The PDF emphasizes the crucial role of stretching in restoring optimal knee function. Quadriceps stretches, performed by gently pulling the heel towards the buttock, improve flexibility in the front of the thigh.
Hamstring stretches, targeting the muscles at the back of the thigh, are equally important. Hold each stretch for 30 seconds, repeating 2-3 times. Consistent stretching enhances range of motion and reduces muscle tightness, aiding recovery.
Quadriceps Stretch
The PDF details a standing quadriceps stretch: gently pull one heel towards your buttock, keeping your thighs aligned and core engaged. Feel the stretch in the front of your thigh.
Hold this position for 30 seconds, repeating 2-3 times on each leg. A towel can assist if reaching your foot is difficult. This stretch improves flexibility, reducing tension on the patellar tendon. Proper form is vital to avoid injury; maintain balance and avoid overextending.
Hamstring Stretch
The PDF recommends a towel hamstring stretch: lying on your back, loop a towel around one foot. Gently pull the leg straight up, keeping the knee slightly bent. Feel the stretch along the back of your thigh.
Hold for 30 seconds, repeating 2-3 times per leg. Tight hamstrings can contribute to knee pain, so regular stretching is crucial. Maintain a controlled movement and avoid bouncing. This improves flexibility and supports overall knee health during recovery.
Importance of Warm-up and Cool-down
The PDF emphasizes that a proper warm-up is vital before each exercise session. This should include 5-10 minutes of low-impact cardio, like cycling or walking, followed by dynamic stretches.
A cool-down, also 5-10 minutes, with static stretches, is equally important. Warming up prepares muscles, while cooling down reduces soreness and improves flexibility. Consistent warm-up and cool-down routines enhance recovery and minimize the risk of re-injury during rehabilitation.
Preventing Recurrence of Jumper’s Knee
The PDF highlights that consistent adherence to a maintenance exercise program is crucial for long-term prevention. This includes continued strengthening of the quadriceps, hamstrings, and calf muscles, alongside regular stretching routines.
Gradual return to activity, avoiding sudden increases in intensity, is also key. Proper footwear and technique during sports are vital. Addressing any biomechanical imbalances can significantly reduce the risk of patellar tendonitis returning.
ACL Reconstruction Rehabilitation & Jumper’s Knee Connection
The PDF acknowledges a link between ACL reconstruction and increased risk of patellar tendonitis due to altered biomechanics and muscle imbalances post-surgery. Rehabilitation protocols often incorporate exercises to address these issues.
Phase I focuses on protection and reducing swelling, while subsequent phases gradually reintroduce strengthening and proprioceptive exercises. Careful monitoring and progression are essential to prevent overloading the patellar tendon during ACL recovery, minimizing the chance of developing jumper’s knee.
Phase I: Protection Phase (Post-Surgery)
Immediately following ACL reconstruction, the initial phase prioritizes protecting the surgical site and minimizing inflammation. This PDF emphasizes gentle range-of-motion exercises like heel slides and quadriceps sets to restore basic function without stressing the tendon.
Weight-bearing is carefully controlled, and bracing is often utilized. The focus isn’t on strength, but on regaining initial movement and reducing pain, laying the groundwork for subsequent, more intensive rehabilitation stages.
Criteria for Transitioning Between Phases
Advancing through the rehabilitation phases detailed in this PDF isn’t time-based, but performance-driven. Successful progression requires meeting specific criteria, including achieving full knee extension, minimal pain during activities, and demonstrable strength gains – typically 70% limb symmetry.
Functional tests, like controlled single-leg hops, assess readiness. A physician or physical therapist must approve each transition, ensuring the patellar tendon and surrounding structures are adequately prepared for increased demands.
Considerations for Semiprofessional Athletes
Semiprofessional athletes require a tailored approach within this PDF’s framework. Their higher activity levels and performance demands necessitate a more aggressive, yet carefully monitored, rehabilitation timeline. Emphasis should be placed on sport-specific drills integrated gradually.
Return-to-play decisions must consider not only pain levels but also functional capacity and biomechanical efficiency. Close collaboration with a sports medicine team is crucial to prevent re-injury and optimize performance.
Resources for Downloadable PDF Exercise Guides
Accessing supplementary PDF resources can greatly enhance your rehabilitation journey. Several websites offer detailed exercise guides specifically designed for patellar tendonitis and ACL reconstruction recovery, complementing this comprehensive plan.
Look for resources from reputable sports medicine organizations and physical therapy clinics. These often include visual demonstrations and detailed progressions. Always consult with your healthcare provider before starting any new exercise program, ensuring it aligns with your individual needs and recovery stage.